if( function_exists( 'ninja_forms_display_form' ) ){ ninja_forms_display_form( 9 ); } -->
Menu
Home
About Us
Mission
Board Members
Contact Us
Get Involved
Become A Member
Join the Board of Directors
Donate
Upcoming Events
Professionals
Become A Member
Awards & Recognition: Celebrating Women in Public Service
Leadership Seminar
Students
Undergraduate Scholarship
Bonnie Reese Legislative Internships
2026 Sponsors
Become a Sponsor
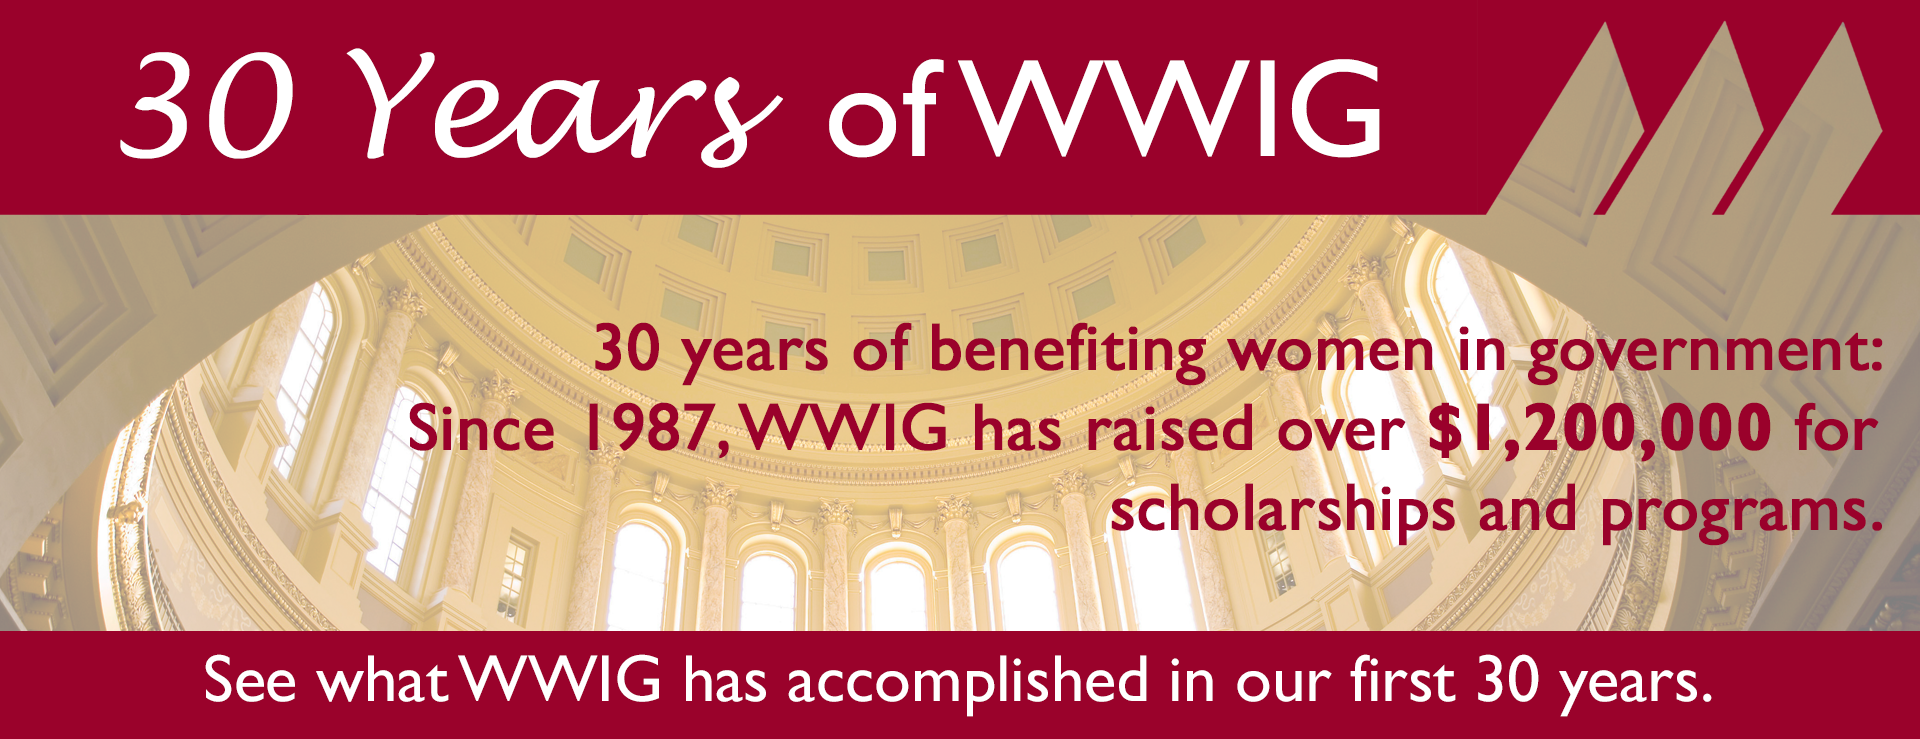
WWWIG’s First 30 Years
By the Numbers
Image 2 of 7
MENU
Home
About Us
Mission
Board Members
Contact Us
Get Involved
Become A Member
Join the Board of Directors
Donate
Upcoming Events
Professionals
Become A Member
Awards & Recognition: Celebrating Women in Public Service
Leadership Seminar
Students
Undergraduate Scholarship
Bonnie Reese Legislative Internships
2026 Sponsors
Become a Sponsor